After you’ve made your foundation chain, the next step is to crochet your first row of stitches.
This is where your crochet really begins to take shape. You’ll be working your hook into the loops of the chain you just made to create your first row of stitches.
In the video below, I’ll show you slowly where to insert your hook into the chain and how each stitch is formed so you can clearly see what’s happening at every step.
Just starting your crochet journey? Save this tutorial so you can easily come back later.

What You'll Need
Before you begin, you will need the following:
- a foundation chain
- a crochet hook
If you haven't already mastered the foundation chain, you can follow my step by step tutorial here:
👉 How to Make a Foundation Chain for Crochet
How To Crochet Your First Row
In this tutorial, I’m showing you a simple, beginner-friendly way to crochet your first row into your foundation chain. This is where your stitches really begin to take shape, and it’s a big step in your crochet journey. Take your time with this stage. Once you feel confident working into your chain, everything that follows will start to feel much more natural and easier to build on.
Step 1: Mark Your First Chain Stitch
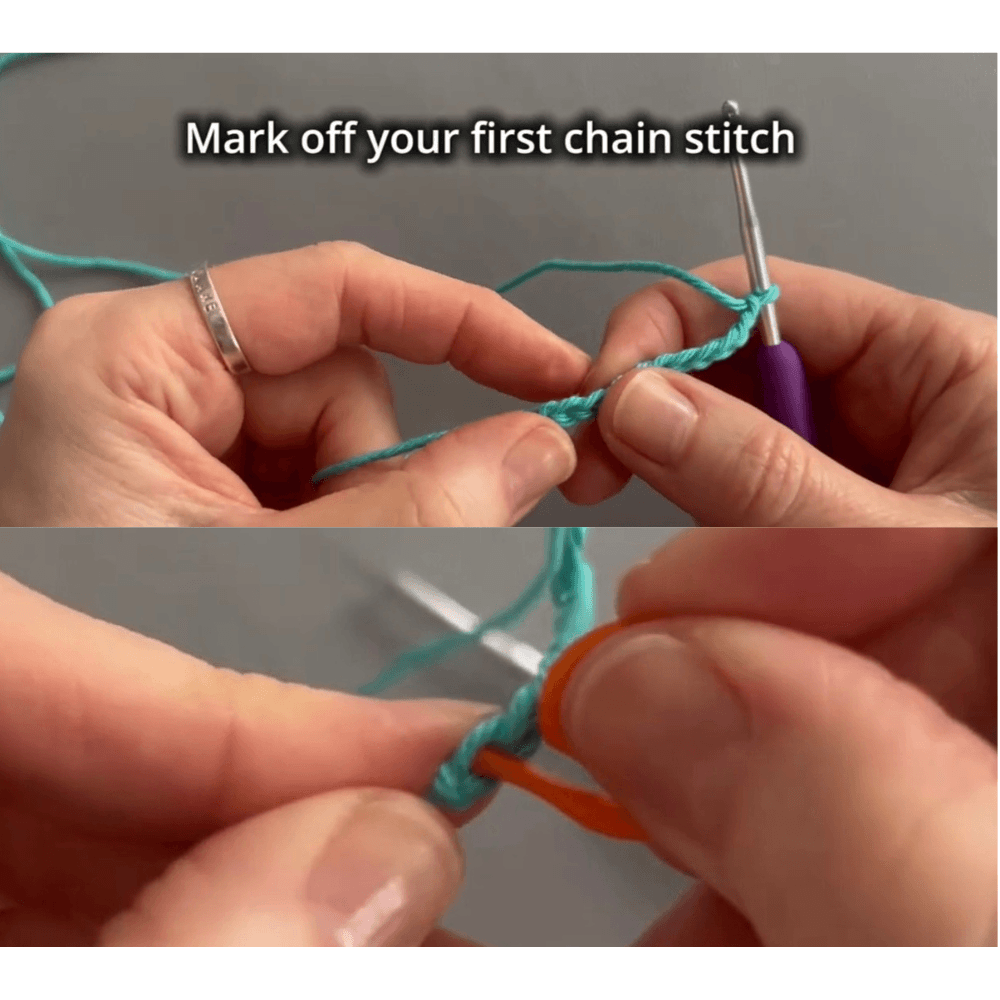
Take a moment to find the first chain stitch you made (the one closest to your slip knot). This can sometimes be tricky to see, so don’t worry if it takes a moment.
Place a stitch marker into this first chain to help you keep track of where your row begins. This will make it much easier when you’re counting stitches and checking your work later on.
If you don’t have a stitch marker, you can use a small safety pin or a piece of yarn instead.
Step 2: Insert Your Hook
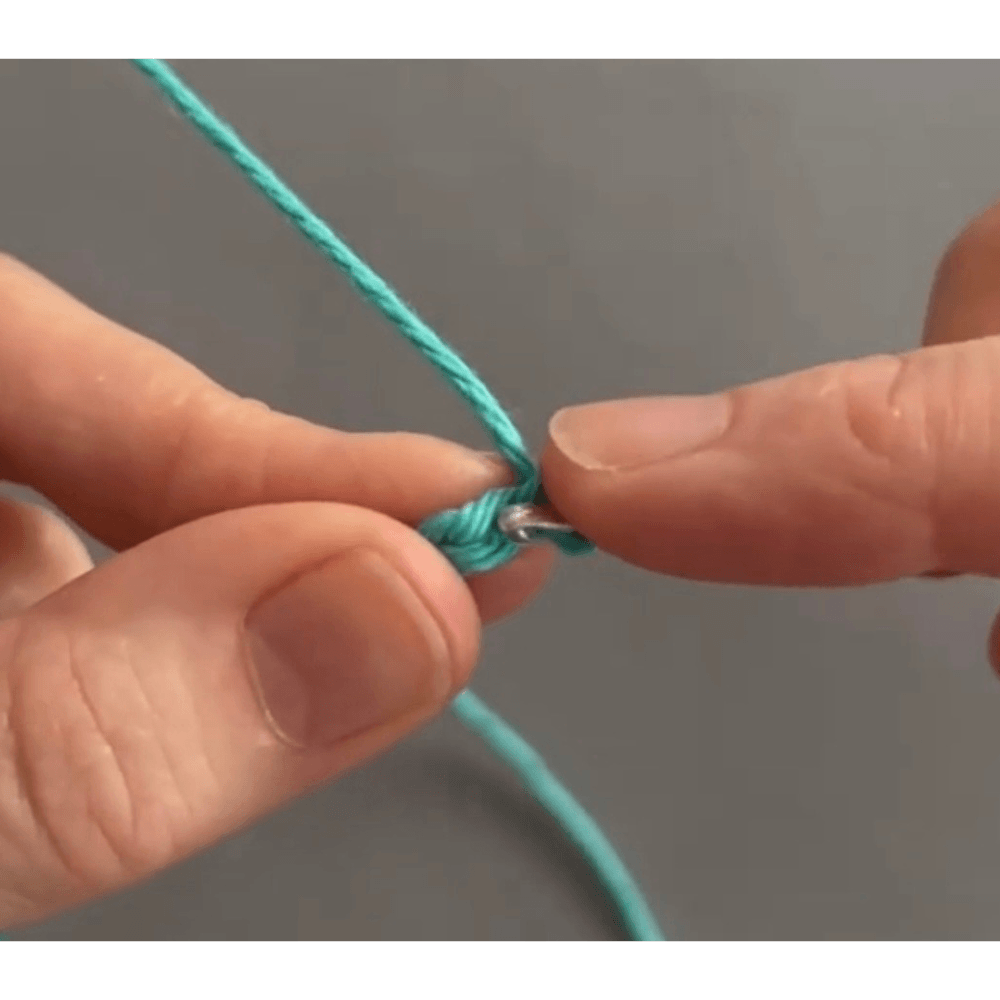
Insert your hook into the second chain from the hook, working into the back part of the chain stitch (often called the back loop).
This can feel a little fiddly at first, so take your time and adjust the chain with your fingers if needed.
Step 3: Start Your First Stitch
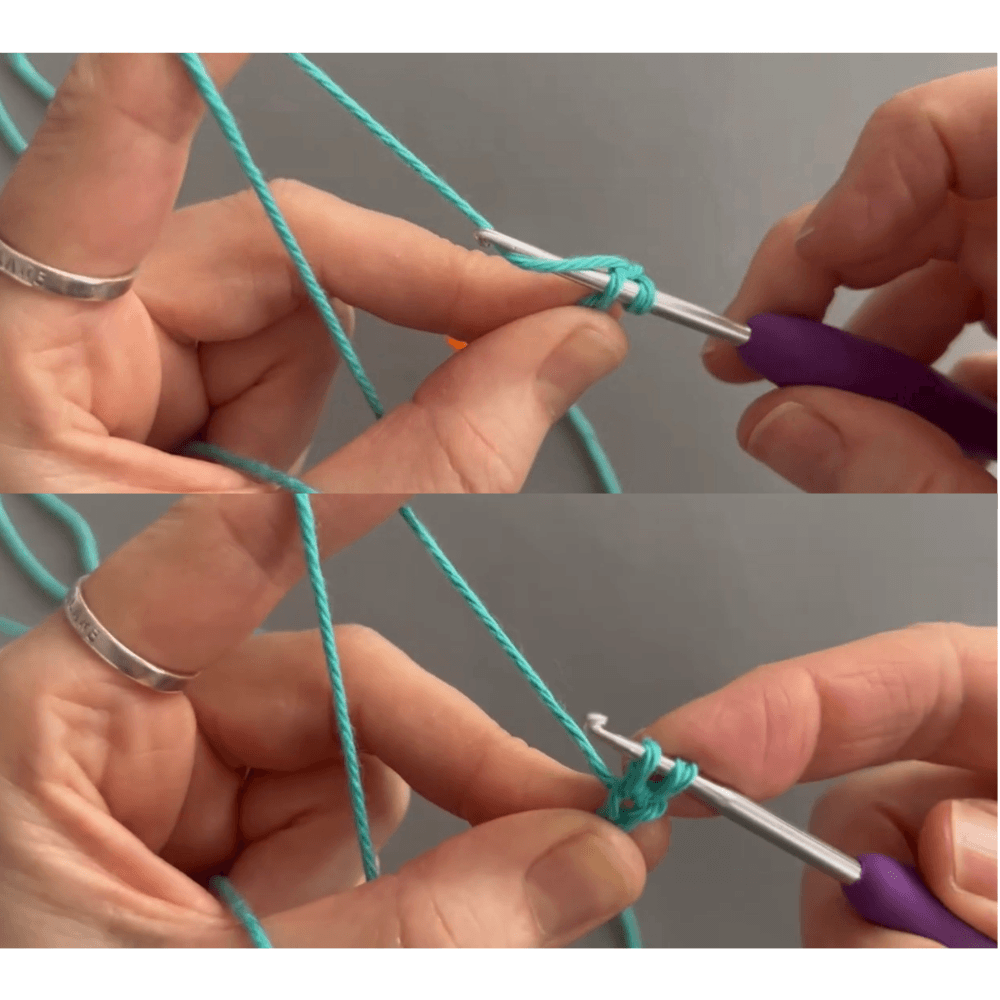
Yarn over and pull the working yarn through the chain stitch to bring up a loop. You should now have two loops on your hook. Take a moment to pause here and check that your hook is moving comfortably and your loops aren’t too tight.
If it feels a little awkward at first, that’s completely normal. This is a new movement, and it will start to feel more natural with practise.
Step 4: Complete the Stitch
Yarn over again and pull the yarn through both loops on your hook to complete the stitch. You should now be left with just one loop on your hook.
This completes your first stitch in the row. Take a moment to look at it and notice how it starts to form part of the fabric.
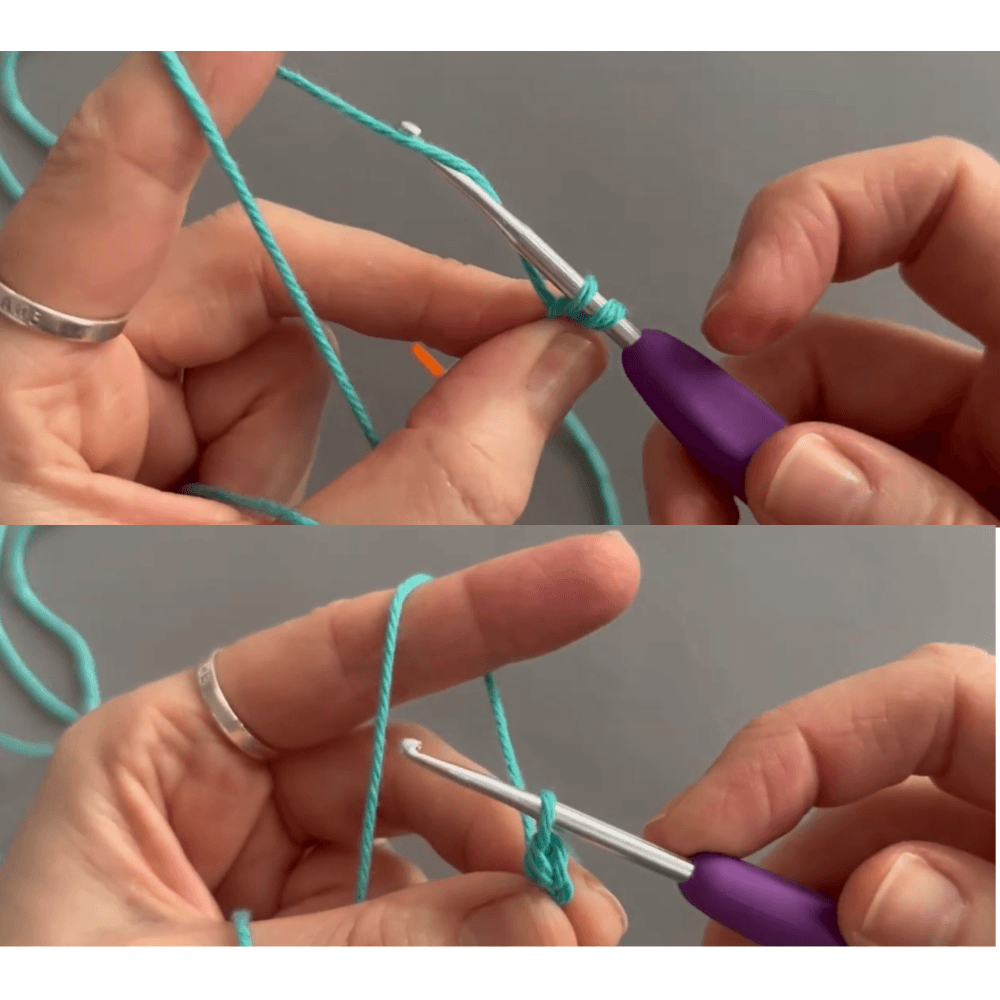
Step 5: Continue Across the Row
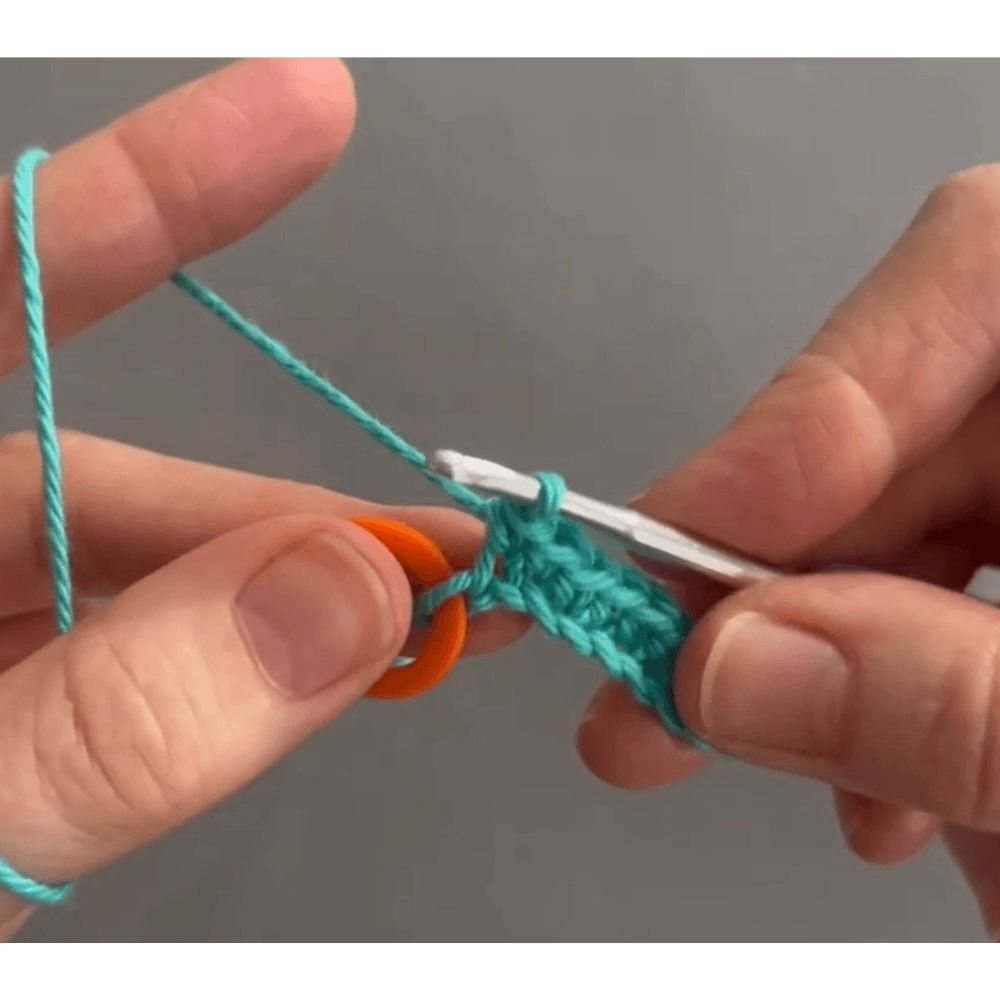
Continue working across your foundation chain by repeating the same steps for each stitch. Insert your hook into the next chain, yarn over and pull up a loop, then yarn over again and pull through both loops to complete the stitch.
Take your time as you move along the row, making sure each stitch is placed into the correct chain.
Step 6: Finish the Row
Work your final stitch into the last chain, which you marked at the beginning. This helps ensure you don’t miss the final stitch (a common mistake when you’re just starting out)
Once you’ve completed this stitch, take a moment to look along your row. Your stitch count should be one less than your starting chain. For example, if you chained 16, you’ll have 15 stitches in your row.
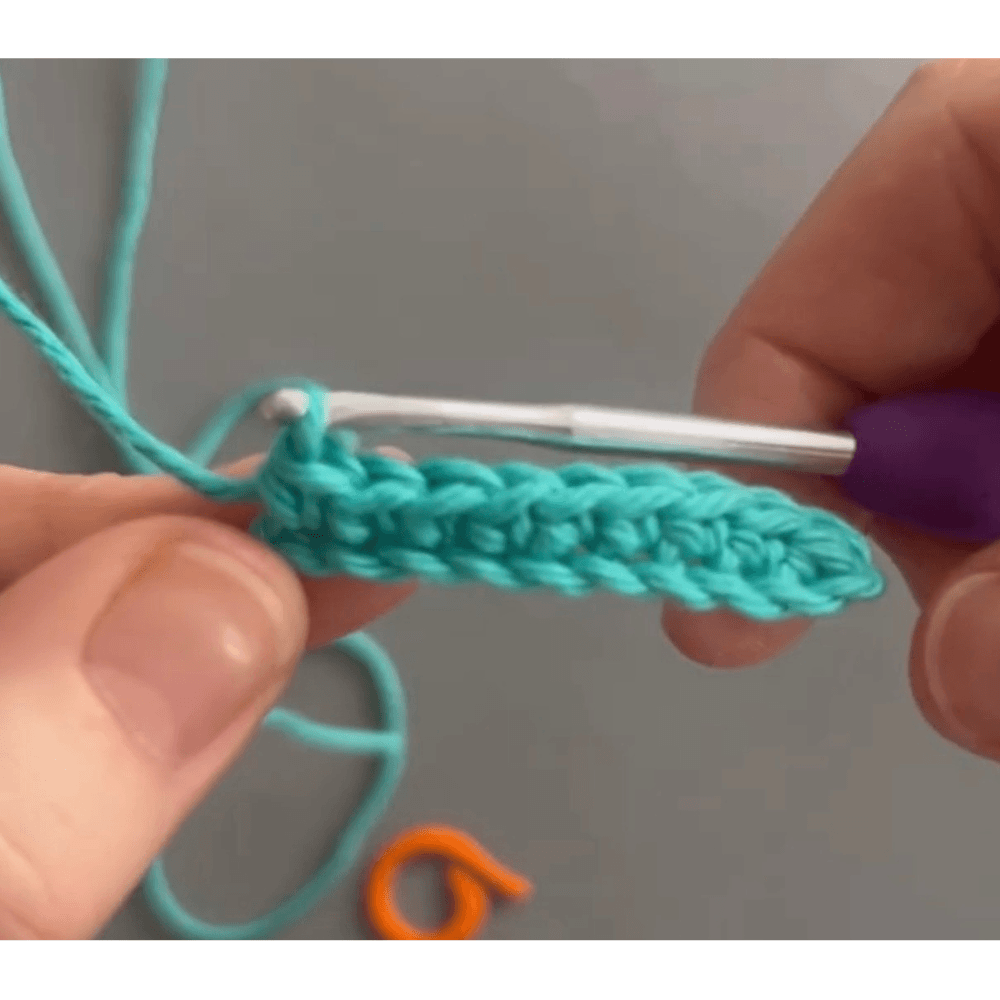
Watch the full First Row Tutorial
🎥 Prefer to watch on YouTube?
👉 Watch the full step-by-step tutorial here
You’ve Now Completed Your First Row 🎉
You’ve now completed your first row! Well done!
If it didn’t feel perfect the first time, don’t worry. Try it again a few times until the movements start to feel more natural in your hands. Your stitches don’t need to be perfect, just aim for calm, steady stitches.
If your row looks a little uneven or your edges aren’t quite straight, that’s completely normal when you’re learning. With a bit of practise, your tension will improve and your stitches will start to look more even.
Want the printable version of this tutorial?
Inside the Crochet Clare Learning Library you'll find beginner practise guides, printable tutorials and resources that support my YouTube lessons.
Join the Learning Library to download the First Row printable guide and other beginner resources.
Ready for the next step?
Now that you've learned how to crochet your first row, the next skill is turning your work and start the next row.