Once you've finished crocheting your first row, the next step is learning how to turn your work so you can begin the next row.
Turning your work simply means rotating your crochet so you can continue stitching back across the row you just made. It’s a small step, but an important one, because this is how crochet builds rows and creates fabric.
In this beginner-friendly tutorial, I’ll show you exactly how and when to turn your work so you can confidently continue crocheting your project.
Just starting your crochet journey? Save this tutorial so you can easily come back to it later.

What You'll Need
- a completed first row
- a crochet hook
If you haven't already completed your first row, you can follow my step-by-step tutorial here:
👉 How to Crochet Your First Row
How To Turn Your Work
Turning your work is an important step in crochet because it allows you to begin a new row and continue building your project. In this tutorial, I’ll show you a simple, beginner-friendly way to turn your work neatly and confidently. This stage can feel a little awkward at first, and that’s completely normal when you’re learning. Take your time and focus on keeping your stitches calm and steady. Once you become comfortable turning your work, moving from row to row will start to feel much smoother and more natural.
Step 1: Mark Your First Chain Stitch
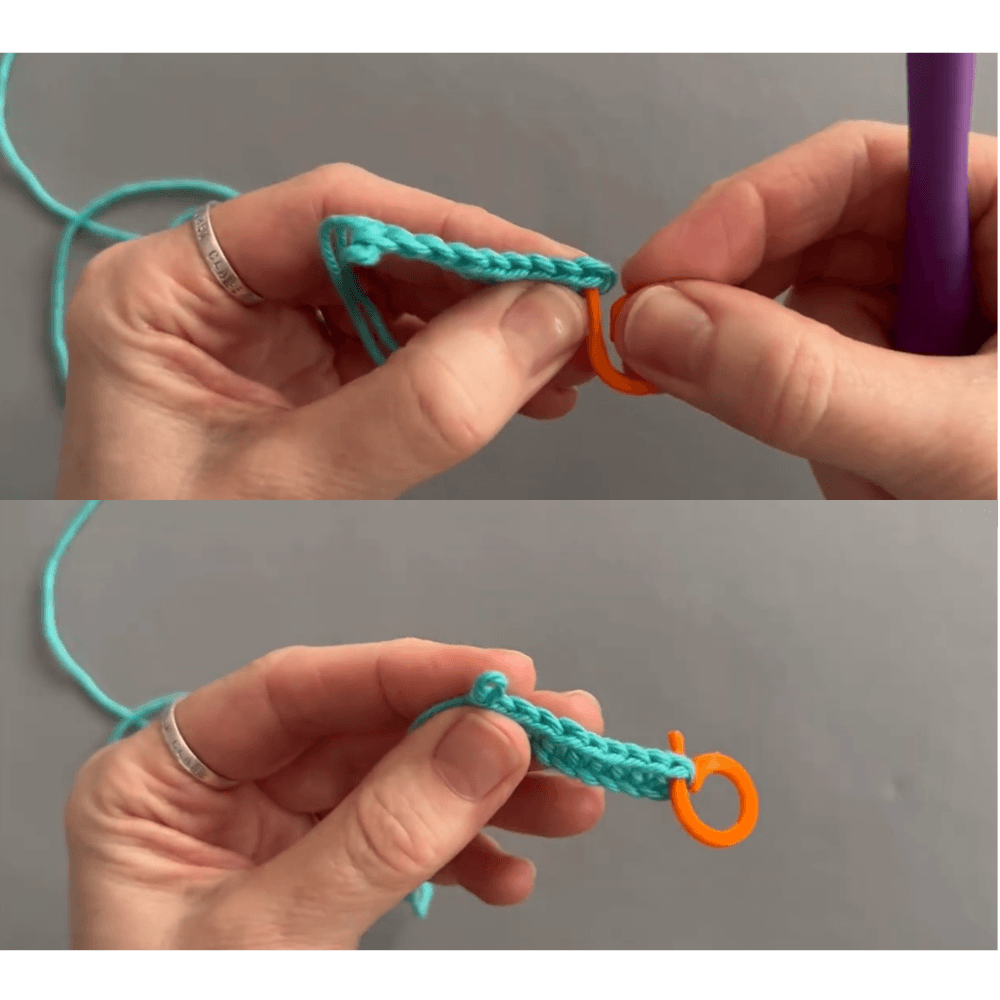
Before turning your work, place a stitch marker into the last stitch of the first row you crocheted.
This helps you easily find the final stitch again when you come back across your work.
It can prevent you accidentally missing the last stitch at the end of the row which is a very common beginner mistake.
Step 2: Chain One And Turn
Chain one, then turn your work so the opposite side is now facing you.
In this tutorial, we’re using UK double crochet (UK: dc / US: sc)
The chain one acts as the turning chain before making your first stitch into the row.
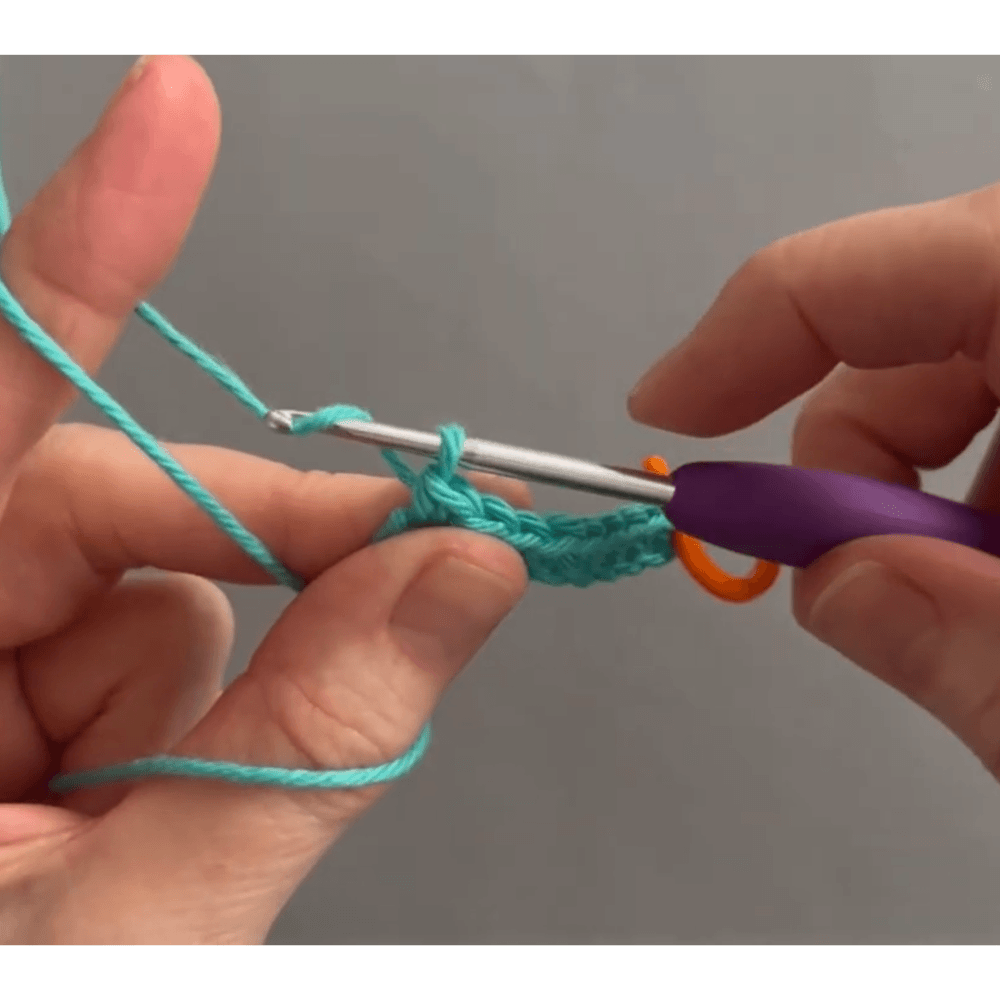
Step 3: Work Into the Second Stitch
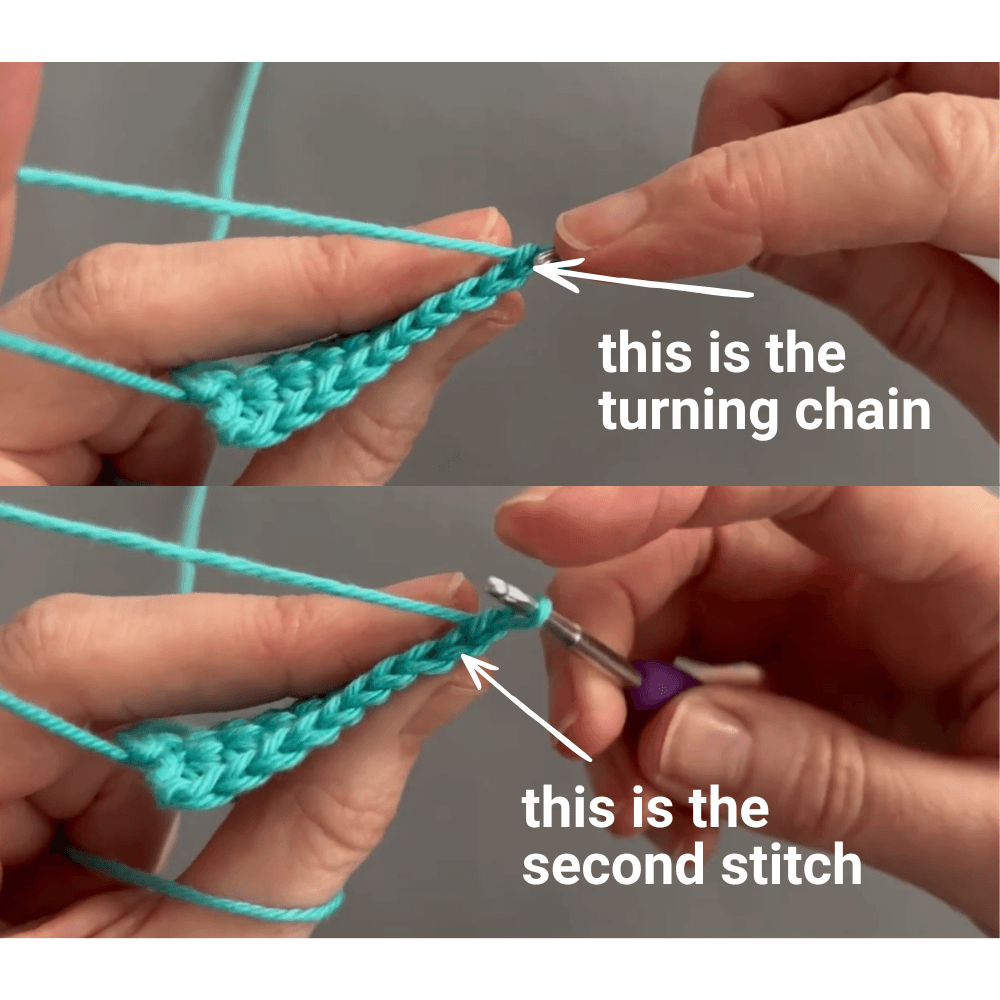
The chain one you made before turning your work is called the 'turning chain'.
In this tutorial, we are not working into the turning chain.
Instead, insert your hook into the second stitch from the hook to begin your first stitch of the new row.
Step 4: Insert Your Hook Through Both Loops
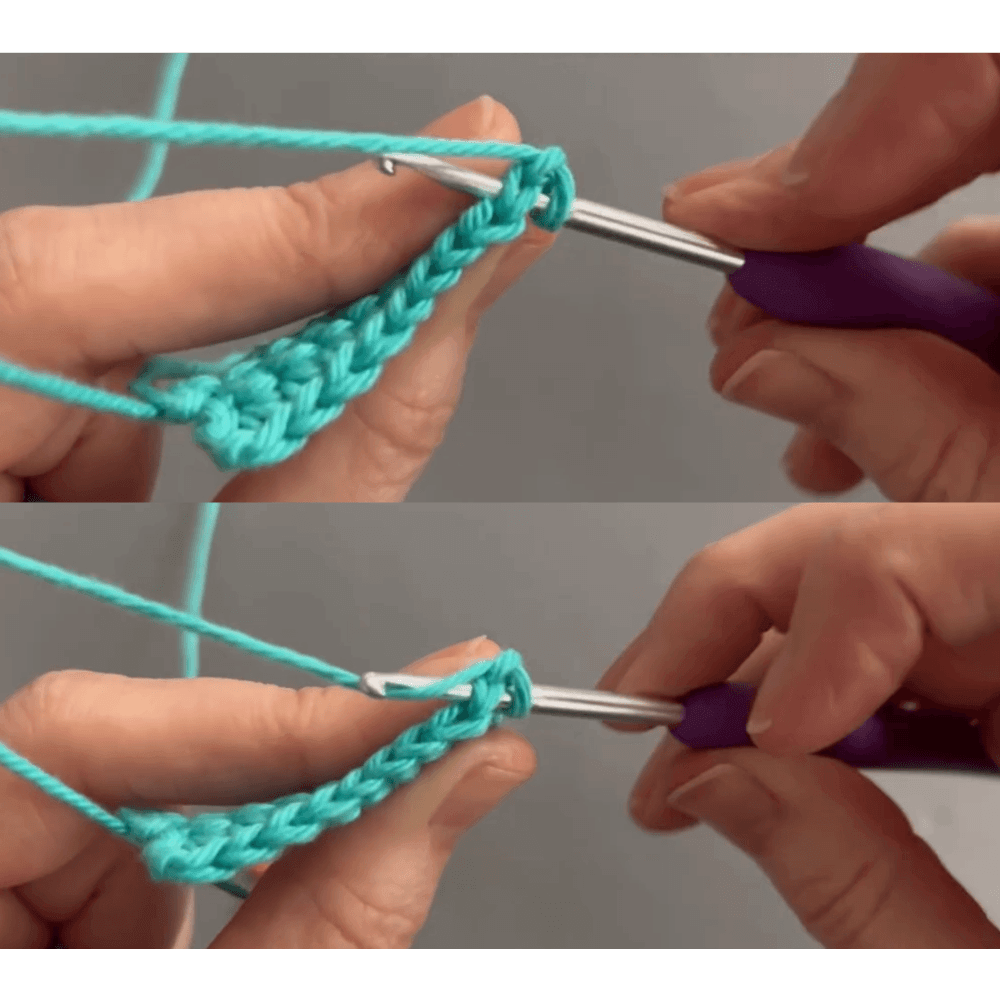
Insert your hook into the next stitch by going underneath both loops at the top of the stitch.
This is different from the foundation chain, where we worked into the back loop only.
Working through both loops is the standard way most crochet stitches are worked once you begin building rows.
Once your hook is through both loops, yarn over and pull the yarn back through the stitch.
Step 5: Complete the Stitch
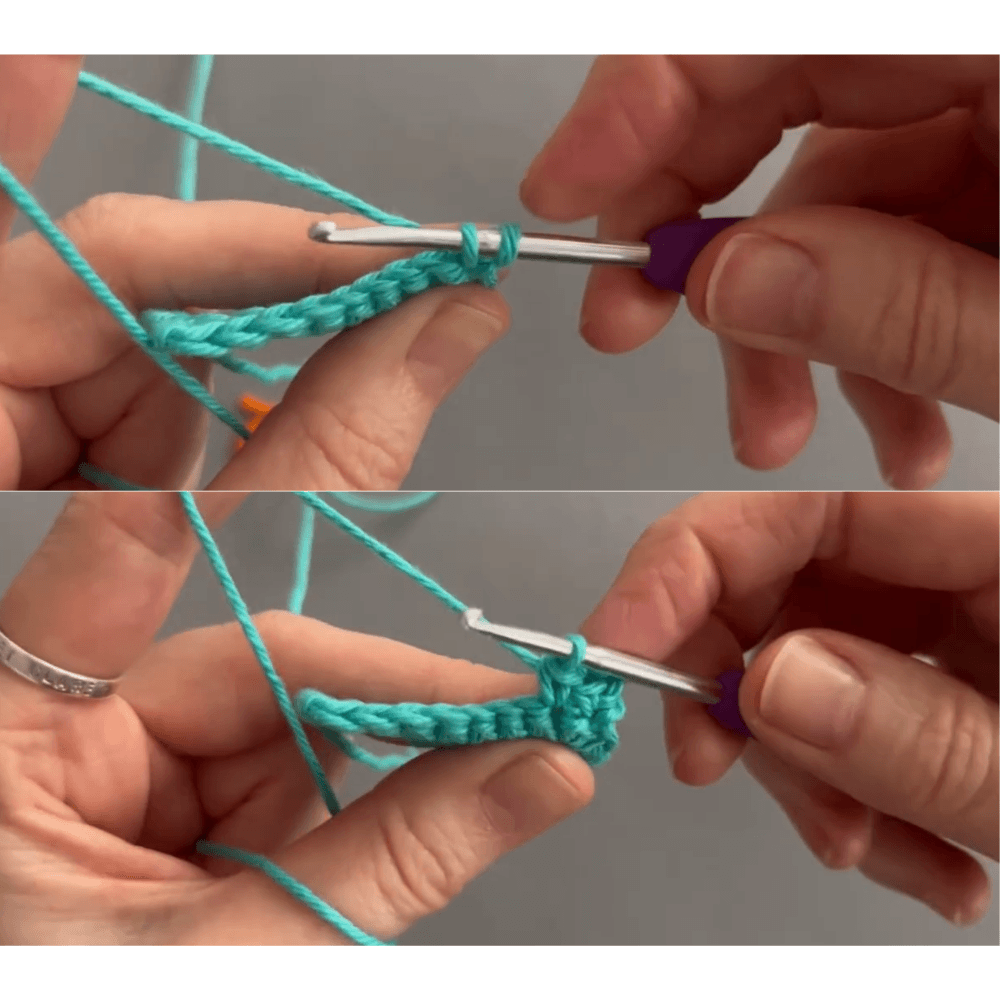
You should now have two loops on your hook. Yarn over once more and pull the yarn through both loops, leaving one loop remaining on your hook. This completes your first UK double crochet stitch (US single crochet).
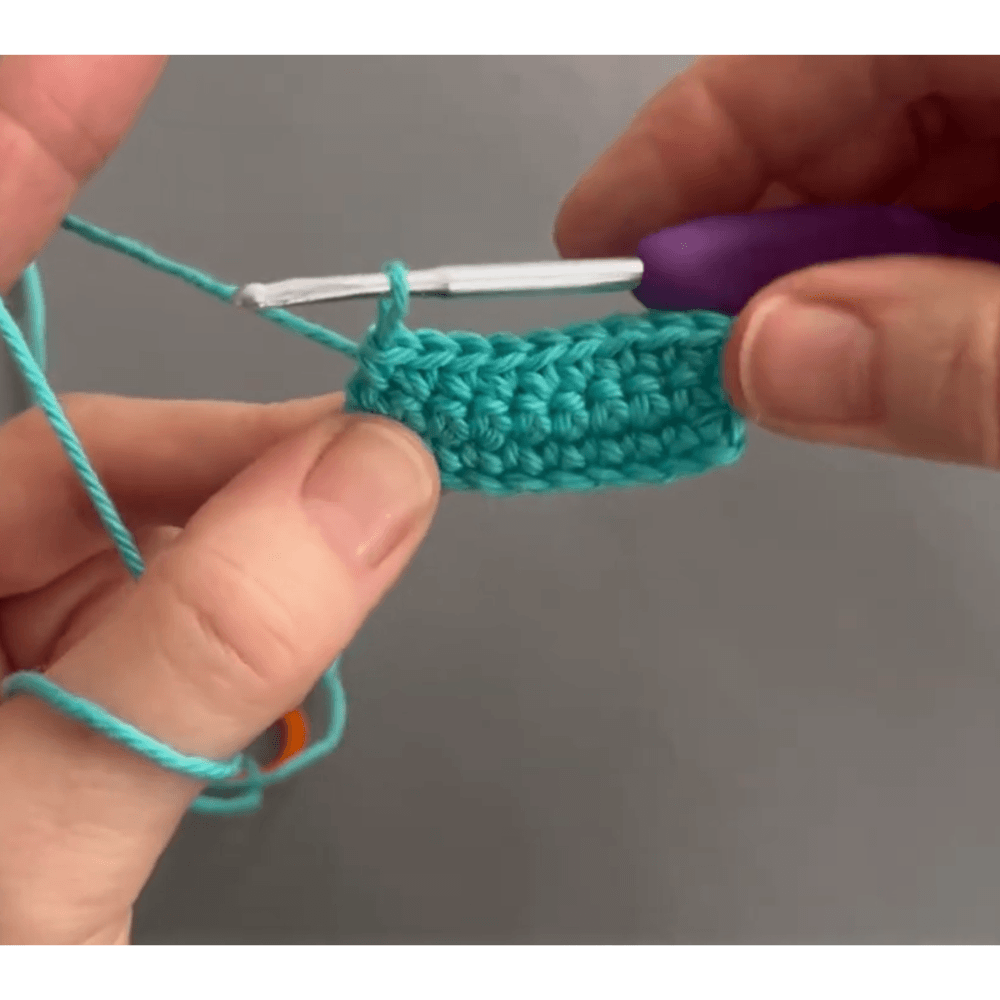
As you continue across the row, repeat the same steps into each stitch. Try to work calmly and steadily rather than rushing — your stitches will become more even and natural with practise.
Step 6: Continue Across the Row
Continue repeating the same crochet steps into each stitch across the row.
Work calmly and steadily, taking your time to identify each stitch before inserting your hook.
Watch the full Turn Your Work Tutorial
🎥 Prefer to watch on YouTube?
👉 Watch the full step-by-step tutorial here
You’ve Now Learnt How To Turn Your Work 🎉
You've now learnt how to turn your work - Well done!
If it didn’t feel natural the first time, don’t worry. Turning your work is something that becomes easier with practise, and many beginners need a little time to get comfortable with the movement.
As you continue practising, you’ll begin to recognise your stitches more easily and moving from one row to the next will start to feel much more natural.
Want the printable version of this tutorial?
Inside the Crochet Clare Learning Library you'll find beginner practise guides, printable tutorials and resources that support my YouTube lessons.
Join the Learning Library to download the Turning Your Work printable guide and other beginner resources.
Ready to try your first project?
Now that you’ve learned how to make a slip knot, a foundation chain, crochet your first row, and turn your work, you’re ready to practise those skills by making a simple gift card/bank card holder.
This is a perfect beginner crochet project because it helps you repeat the same stitches and movements whilst creating something useful at the same time. As you continue practising, your stitches will gradually start to feel smoother, steadier, and more natural in your hands.
Inside the Crochet Clare Learning Library you’ll find the simple gift card/bank card holder printable pattern, (also available in US terms) along with beginner practise guides and printable tutorials that support my YouTube lessons.
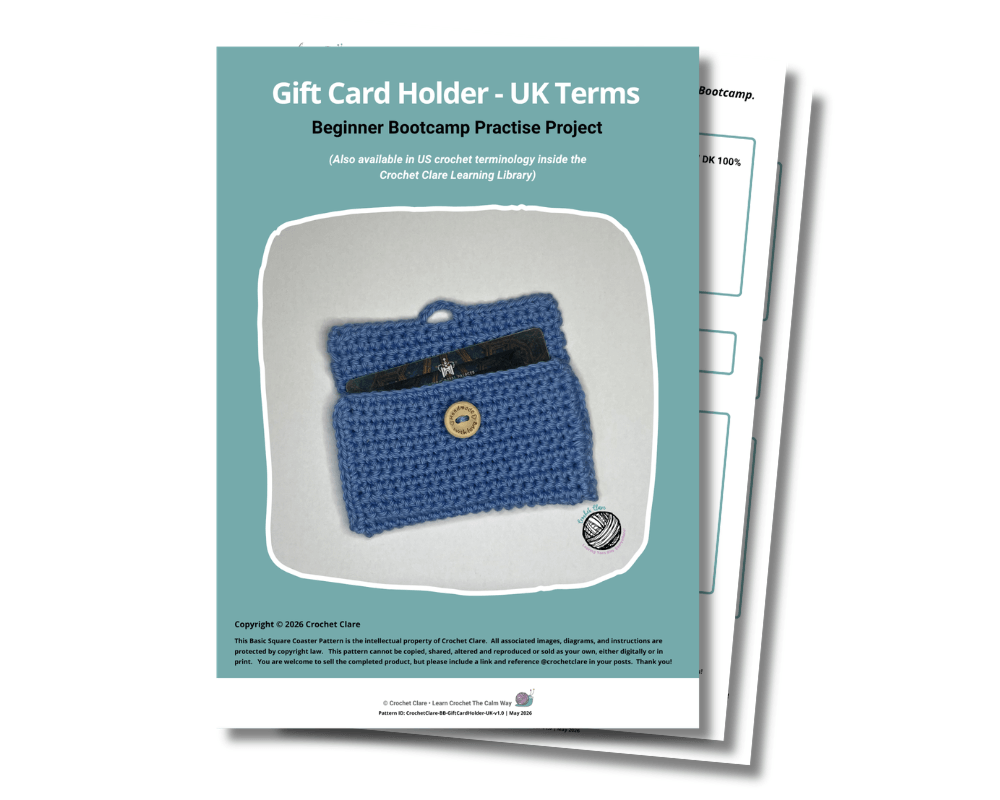
Join the Learning Library to download the simple gift card/bank card holder and other beginner crochet resources.
Feeling confident with your rows?
If turning your work and crocheting rows is starting to feel more comfortable, you might be ready to head over to Stitch School where you can learn new stitches and build up your confidence.
Inside Stitch School we begin exploring different crochet stitches step-by-step whilst continuing to build confidence, stitch recognition, and steady tension. Don’t worry if you still need a little more practise with your beginner basics first though. Crochet is all about taking your time and learning at your own pace. 🐌